How to use saved customs invoices
You can save customs invoices (packing lists) for use in future bookings, to help speed up the booking process.
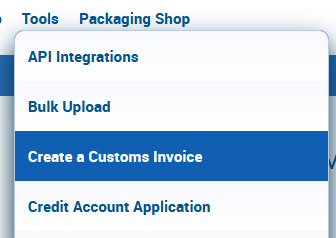
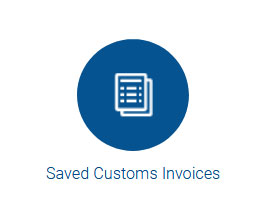
To access the creation tool, or to view your saved invoices, go to Tools -> Create a Customs Invoice in the menu, or Saved Customs Invoices under Personal Settings in your account area.
Please note: If you use your own customs invoice (rather than one generated by our system), you will need to upload this document separately during booking. Manual uploads cannot be saved using this tool.
Create a new customs invoice
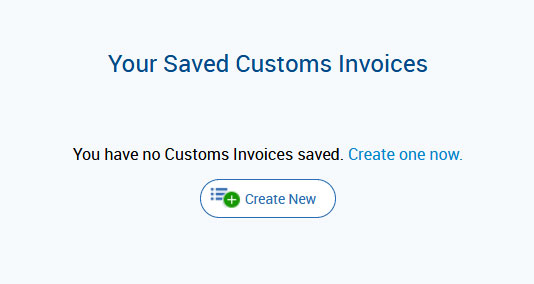
To create a new customs invoice, click Create New.
You can then fill out each field as you normally would during a booking. There are two sections to fill out: Consignment Summary and Contents, the latter of which is an itemised list of all the contents of your consignment.
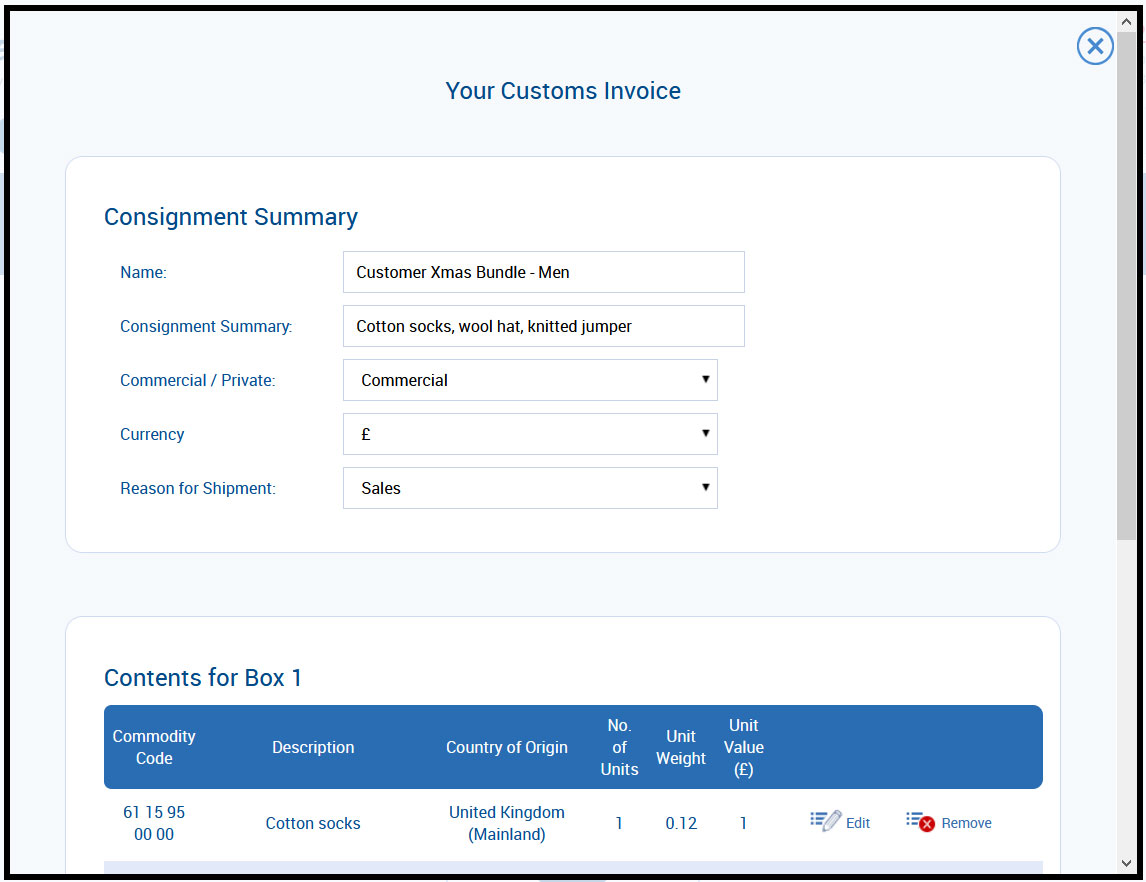
For Name, put something for your own reference so you can identify it later on.
For each item in your consignment, provide the Commodity Code, Description and Country of Origin. Then specify the Number of Units for this item, and the weight and value per unit. Not all carriers ask for this information per unit but we will convert the data accordingly.
TIP! You’ll be able to tweak the details later for specific orders, so feel free to stick with example items when saving one for use as a template.
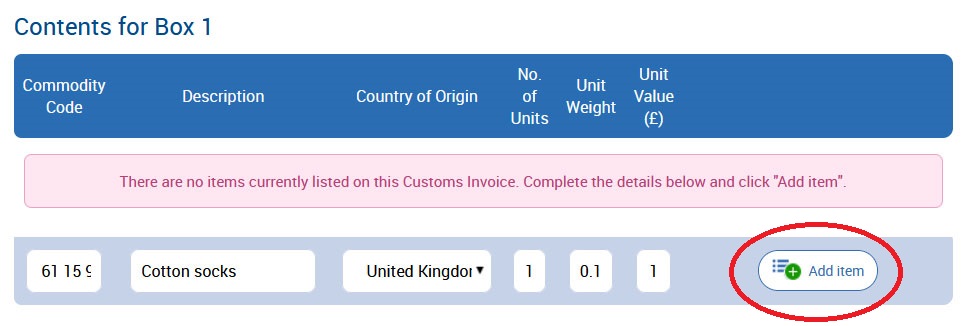
When you’re done, click Add Item. You’ll need to do this for every item in your consignment.
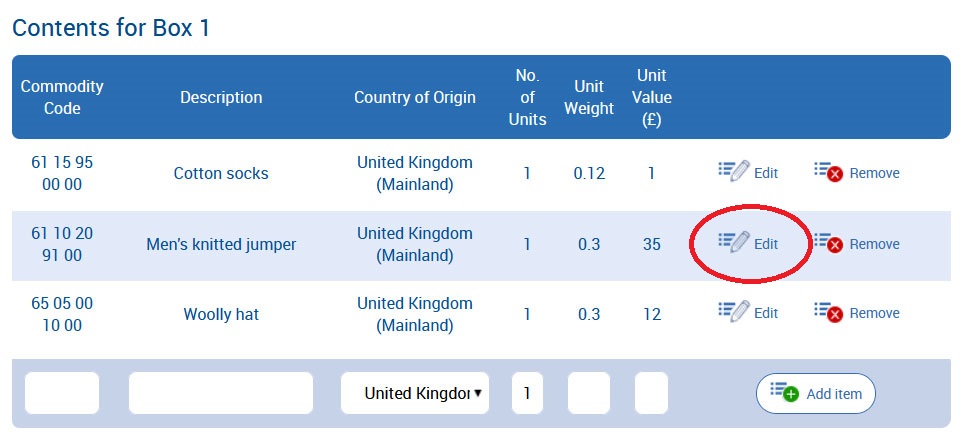
Click Edit if you need to modify any of the details for a particular item, then Update.

Click Add a new box if you are shipping more than one parcel or pallet.

Click Remove (on an item) or Remove Box (top right) to delete anything you don’t need.

Once you’ve entered all the details, click Save Changes and then Back to return to your full list of saved invoices.
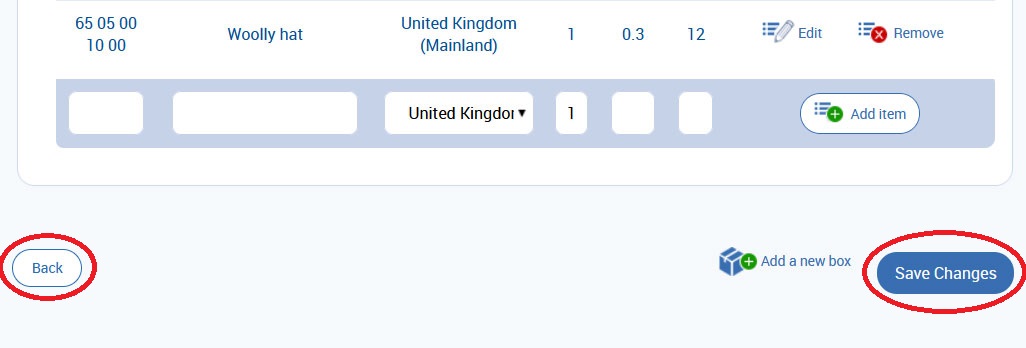
You can return to this tool at any time to edit an existing invoice, delete one or add a new one.

Adding a saved customs invoice to your order
On the Customs Declaration page, in the Consignment Summary section, click Use a saved Customs Invoice.
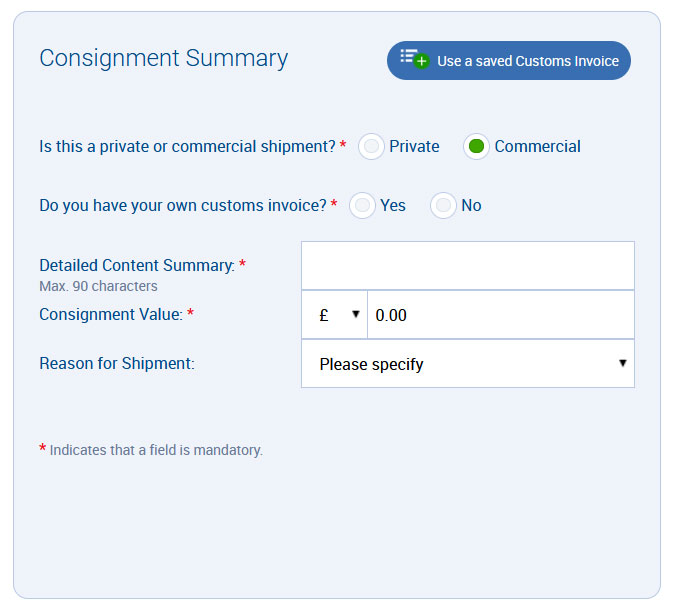
Your list of saved invoices will then pop up, with all the same choices as before. Edit has been replaced with Select, but if you click on this button, it will give you the chance to review and amend your saved invoice before selecting it.

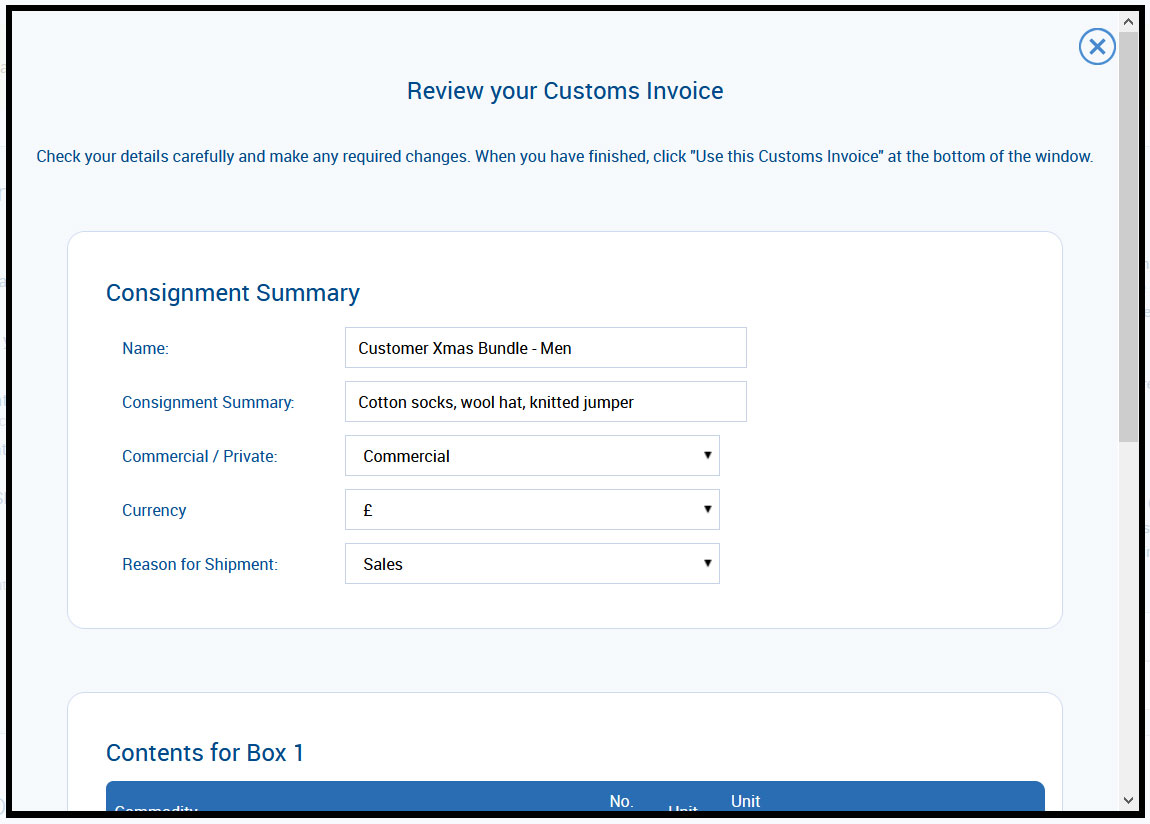
To update your saved invoice with any changes, make sure you click the Save Changes button. If you’re good to go, click Use this Customs Invoice at the bottom. This will then auto-fill the fields on the page. If it’s not the right invoice, click Choose a different Customs Invoice.

If you want to tweak some details for this specific order but don’t want to update the saved template itself, you can make edits and proceed without clicking Save Changes, or you can amend the auto-filled text after selecting Use this Customs Invoice.
In any case, you will be able to check all fields before proceeding to the next stage of your booking.


On social media? Why not give us a follow...